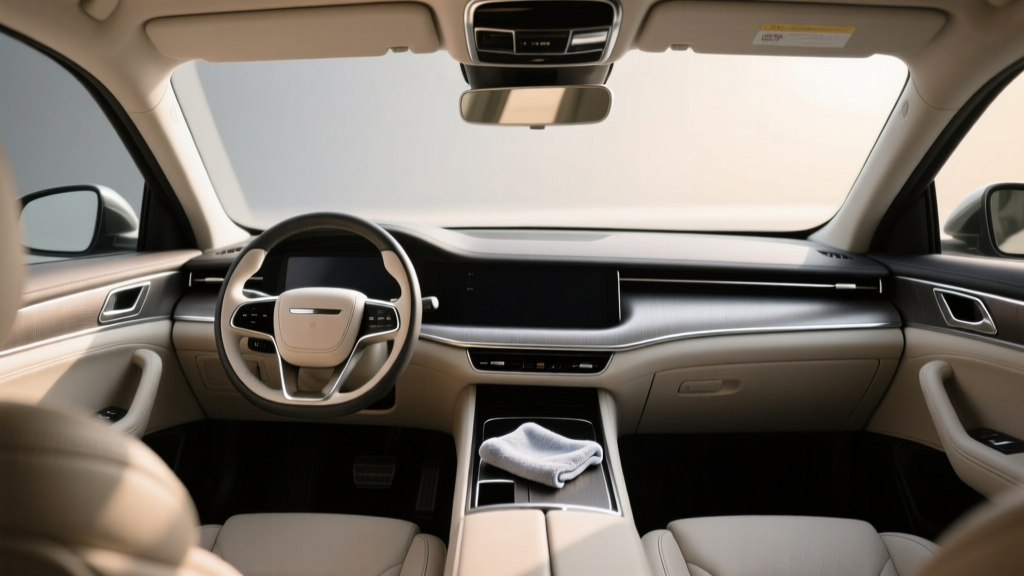
Cleaning for Headliners - CarInteriorMix
Cleaning for Headliners: Practical Tips That Won?t Wreck Your Roof Fabric
Your car?s headliner (the fabric on the ceiling) is one of those interior pieces you don?t notice?until it?s stained, sagging, or starts smelling like yesterday?s drive-thru. It?s also one of the easiest areas to damage if you scrub too hard or soak it with the wrong cleaner.
The trick with headliner cleaning is simple: use as little moisture as possible, work gently, and pick products that won?t dissolve the glue holding the fabric to the foam backing. Here are practical, quick headliner cleaning tips for everyday car owners?no detailing shop required.
-
Start with a dry clean first (it removes more than you think).
Before you touch any liquid, vacuum the headliner using a soft brush attachment. This pulls down dust, hair, and loose grime so you don?t smear it into the fabric later. Real-world example: if your headliner looks ?gray,? it?s often just a thin layer of dust that a gentle vacuuming fixes in 2 minutes.
-
Do a quick ?glue test? in a hidden corner.
Headliners are fabric bonded to foam with adhesive, and some cleaners can weaken it fast. Test your cleaner (or DIY mix) on a small spot near the rear edge above a door, then wait 10 minutes to make sure it doesn?t darken, loosen, or ripple. If the fabric feels tacky or starts to sag, stop and switch to a drier method.
-
Use foam upholstery cleaner for most stains (less moisture, less risk).
Foaming cleaners lift grime without soaking the backing?perfect for general headliner cleaning. Look for a foam upholstery cleaner like Turtle Wax Power Out! Upholstery Cleaner or Meguiar?s Carpet & Upholstery Cleaner; spray onto a microfiber towel (not directly onto the headliner) and dab. This ?towel-first? approach helps prevent glue failure and water marks.
-
Blot?don?t scrub?especially around seams and edges.
Scrubbing can fuzz the fabric and push moisture deeper where the adhesive lives. Instead, press and lift with a clean microfiber towel, rotating to a dry section as it picks up dirt. Example: after a coffee splash, blotting in small circles usually removes the brown ring without making a larger wet patch.
-
For oily fingerprints and hair product residue, use a gentle degreaser approach.
Headliners near visors and grab handles often get oily smudges. Mix a few drops of mild dish soap (like Dawn) into a cup of warm water, dampen a microfiber towel, wring it out hard, then dab the area lightly. Follow with a second towel dampened with plain water to remove soap, then dry with a third towel?this prevents sticky re-soiling.
-
Handle smoke and musty odors with enzyme cleaner or fabric-safe odor eliminator.
If your headliner smells like smoke, mildew, or spilled milk, wiping alone won?t fix it?the odor is in the fibers. Use an enzyme-based fabric cleaner (like BioKleen Bac-Out or Nature?s Miracle) very lightly on a towel and dab, or use a fabric-safe odor eliminator like Meguiar?s Whole Car Air Re-Fresher for the cabin. Safety note: with aerosols or odor bombs, follow label instructions and air the car out fully before driving.
-
Target pen marks and dye transfer carefully with isopropyl alcohol (sparingly).
Ink spots happen?especially in family cars where pens live in cupholders. Put 70% isopropyl alcohol on a cotton swab or corner of a microfiber towel and gently dab the mark from the outside inward to avoid spreading. Keep it minimal: alcohol can weaken adhesive and lighten some fabrics, so use only what?s needed and stop as soon as the mark lifts.
-
Stop water rings before they start: feather the edges and dry fast.
Water marks form when you clean one small area and leave a hard ?wet edge.? If you must use moisture, lightly blend (?feather?) outward beyond the stain so the fabric dries evenly. Then speed up drying with a fan or cracked windows?quick drying is a big part of preventing headliner sagging.
-
Clean sunroof areas and leak stains like a detective, not just a cleaner.
Yellow/brown stains near a sunroof or along the edges often mean a clogged sunroof drain or a door seal leak. Clean the stain gently with foam upholstery cleaner, but also check drains and seals?otherwise the spot will return after the next rain. If you keep seeing fresh dampness, skip heavy cleaning and fix the leak first to avoid mold and adhesive breakdown.
-
Use the ?minimal moisture kit? for fast touch-ups in the driveway.
Keep a small headliner-safe setup in your trunk: two microfiber towels, a soft brush, and a travel-size foam upholstery cleaner. For quick cleanup after a kids? snack spill or a muddy fingerprint, spray product on the towel, dab, and dry with the second towel. This quick approach keeps stains from setting without turning your roof into a wet sponge.
-
Know when to stop: sagging headliners need repair, not more cleaning.
If your headliner fabric is drooping, bubbling, or separating, aggressive cleaning will usually make it worse because the adhesive is already failing. At that point, your best move is a headliner re-glue or replacement (a local upholstery shop can do it, or a DIY headliner kit if you?re handy). You can still spot-clean lightly, but avoid soaking and avoid steamers entirely.
Quick Reference Summary
- Vacuum first with a soft brush to remove dust without moisture.
- Test any cleaner in a hidden spot to protect the adhesive.
- Use foam upholstery cleaner and apply it to a towel, not the roof.
- Blot stains; don?t scrub (especially near seams and edges).
- For oily marks, use a tiny amount of dish soap solution and rinse lightly.
- For odors, use enzyme cleaners or fabric-safe odor treatments and ventilate well.
- Use isopropyl alcohol only for ink/dye and only in tiny amounts.
- Feather edges and dry quickly to avoid water rings and sagging.
- Fix leaks behind recurring stains (sunroof drains and seals are common culprits).
- If it?s sagging, focus on repair?cleaning won?t restore failed glue.
Final Thoughts
Headliner cleaning is all about gentle technique and restraint: less liquid, softer pressure, faster drying. Try one tip at a time, start with the least aggressive method, and you?ll keep your car?s interior looking clean without risking stains, rings, or sagging fabric. If you?ve got a stubborn spot, grab your microfiber towels, do a small test patch, and take it slow?you?ll be surprised how much you can fix in a few minutes.